Reading time: Approx. 8 min
With this chapter, you’ve learnt how to create stunning image ads. You’ve built up your database with lead ads and attracted attention with boosted posts. Your catalog ad has spotlighted all your best listings and services. Facebook still has a few handy tricks up its sleeve. With its remarketing features, you can remind people about the offerings they’ve seen on your website.
As you’ve learnt in our remarketing section for Google Ads, this advertising strategy targets people who have previously browsed through your website. When they move to other websites or social media sites, they will see highly tailored ads. These will display the listings, services and even career opportunities they might have viewed on your website.
The ads follow your website visitors around the internet and continuously remind them of your brand. Done right, your previous website visitors return, potentially turning into a promising lead.
Facebook remarketing works in a similar way. However, the ads will only follow visitors around on Facebook, Instagram and the Audience Network.
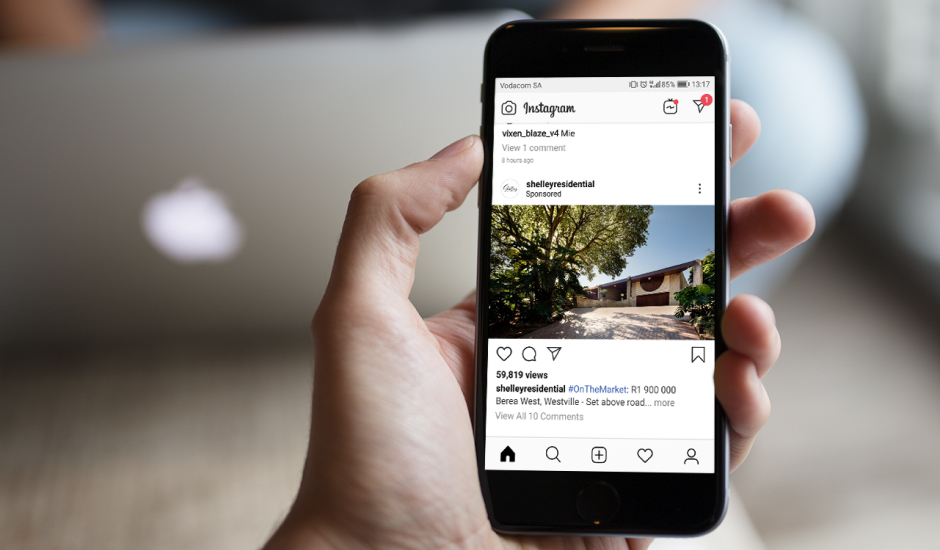
Facebook remarketing harnesses the power of Facebook pixel. This is a small snippet of code that is pasted in your website. The pixel tracks the pages your visitors have browsed and uses this data to show them personalised ads on their newsfeed or the Facebook Messenger App. The best part? Because it’s PPC advertising, you will only be charged once a visitor has clicked on your ad.
The pixel comes with loads of other benefits beyond remarketing.
You can reach your audience with any type of Facebook ad. However, there are two ad types that were made specifically for remarketing.
Head over to Facebook Ads Manager to get started. Then follow these five steps to create your first remarketing campaign.
Follow this guide to put your Facebook pixel together. Once it is generated, you can integrate the code into your website. You’ll have the option of measuring the actions you care about. For example, if someone views a listing or clicks on your contact form.
This is an ad targeting option that lets you find your existing audiences on Facebook. The pixel you’ve set up will provide you with a list of people who have visited your website combined with the actions they’ve taken. You have three options to create your custom audience: From a customer list, an instant experience or a lead form.
You can grow your agency further by using your custom audience to create a lookalike audience. These are lists of people you can target that are similar to the people currently engaging with your agency. For example, if you sell homes in retirement communities in Franschhoek, your audience will likely be over 50 and around that area. Lookalike audiences will pinpoint others within that age group and in that vicinity.
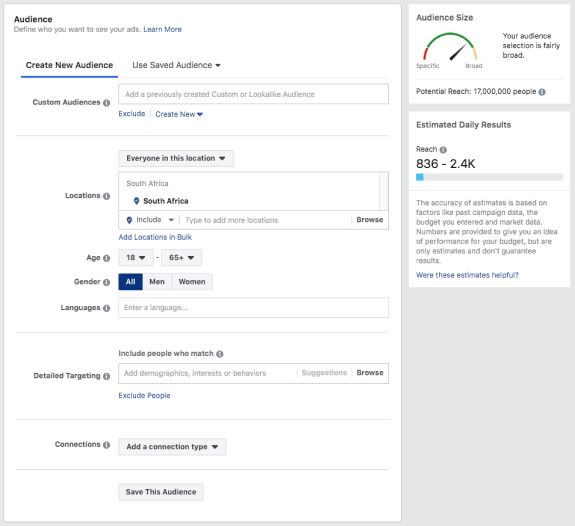
You’ll need to decide what you want to achieve with your ad. Click the “Create an Ad” button and choose an objective for your ad. You can only choose one objective per campaign.
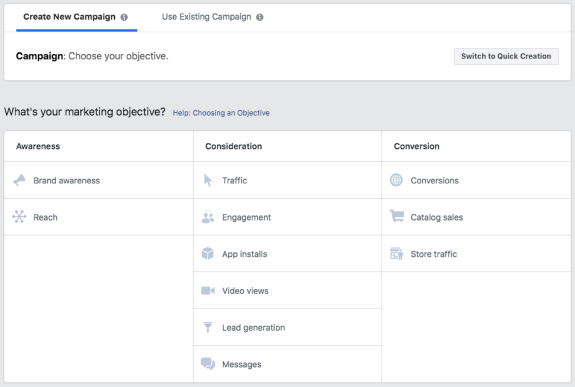
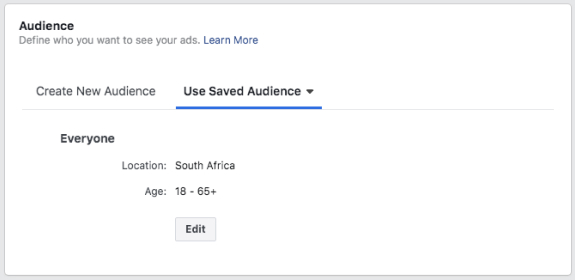
After you’ve determined your objective, you need to select a custom audience that you created in step 2. Your custom audience can include people who’ve visited your website or landing page.
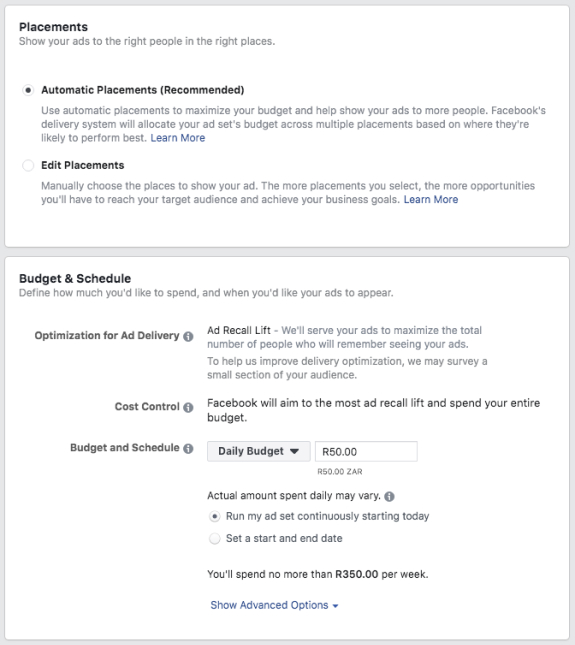
These last few steps are relevant to all types of ads, not just for remarketing. Firstly, you need to pick where your ad will be shown (Ad Placements). Depending on your objective, your ad can appear in Facebook feeds, stories, during or after video content and more. You’d best choose Recommended Placements as this lets Facebook choose a placement where your ad best meets your campaign goals.
Next, you’ll need to set a daily or lifetime budget for your remarketing campaign. It’s smart to start small and raise your budget once you can determine your most profitable campaigns.
Lastly, you need to create your ad’s content. This includes selecting your ad format, designing visuals and crafting persuasive ad copy. Remember, your ad needs to be captivating with action-inducing triggers so that it stands out in a busy news feed.
When all the steps are completed, you’ll simply need to hit “confirm” and Facebook will then proceed to review your ad. Once approved, your ad will be shown to people in your custom audience list.
PRO MOVE: When creating custom audiences, your audiences may overlap. For example, people could have visited your website and also read your newsletter emails. In this scenario, they’ll be added to each individual custom audience and you’d be paying to target the same person twice. Avoid wasting money and bombarding them with ads! You have an option to exclude certain people who might overlap into two or more groups. All you need to do is select the “exclude” option under the custom audiences field.
Copyright © 2025 Prop Data (Pty) Ltd Privacy Policy